
It is crucial to ensure its longevity and protect your home from water damage. Without proper waterproofing, water can seep into the concrete, causing leaks, structural damage, and mold growth. This blog will guide you through the importance of waterproofing concrete roofs, the steps involved in the process, and tips for maintaining a waterproof roof. By the end, you will have a clear understanding of how to effectively waterproof your concrete roof, ensuring it remains durable and safe for years to come.
Why Waterproofing Concrete Roofs is Essential
Waterproofing concrete roofs is essential because concrete, while strong, is porous and can absorb water. Over time, this water can lead to cracks, leaks, and even structural damage. Waterproofing your roof prevents water from penetrating the surface, protecting the internal structure of your home. This is especially important in areas with heavy rainfall or harsh weather conditions, as the constant exposure to moisture can accelerate the deterioration of concrete. Additionally, a waterproofed roof can help improve energy efficiency by reducing heat loss, leading to lower energy bills.
ADDITIONALLY : Don’t let water damage compromise the integrity of your home. Ensure your concrete roof is protected with our expert waterproofing solutions. Contact us now to learn more about our comprehensive Waterproofing for concrete roof services and get a free consultation. Secure your roof and enhance your home’s longevity—reach out to us today!
Steps to Waterproofing Your Concrete Roof
Step 1: Clean the Roof Surface
The first step in waterproofing your concrete roof is to thoroughly clean the surface. Remove any dirt, debris, or old paint that could interfere with the adhesion of the waterproofing material. Use a pressure washer or a stiff-bristle brush to scrub the surface, and make sure to clean out any cracks or crevices. This step is crucial because a clean surface ensures that the waterproofing product will bond properly to the concrete, providing a more effective barrier against water.
Step 2: Repair Any Cracks or Damage
Before applying the waterproofing product, inspect the roof for any cracks or damage. Use a concrete repair product to fill in any gaps, ensuring the surface is smooth and even. This step is important because even small cracks can allow water to seep through, compromising the effectiveness of the waterproofing. Make sure the repair product is completely dry before moving on to the next step. If there are larger areas of damage, it may be necessary to consult a professional to ensure the repairs are done correctly.

Step 3: Apply a Waterproofing Primer
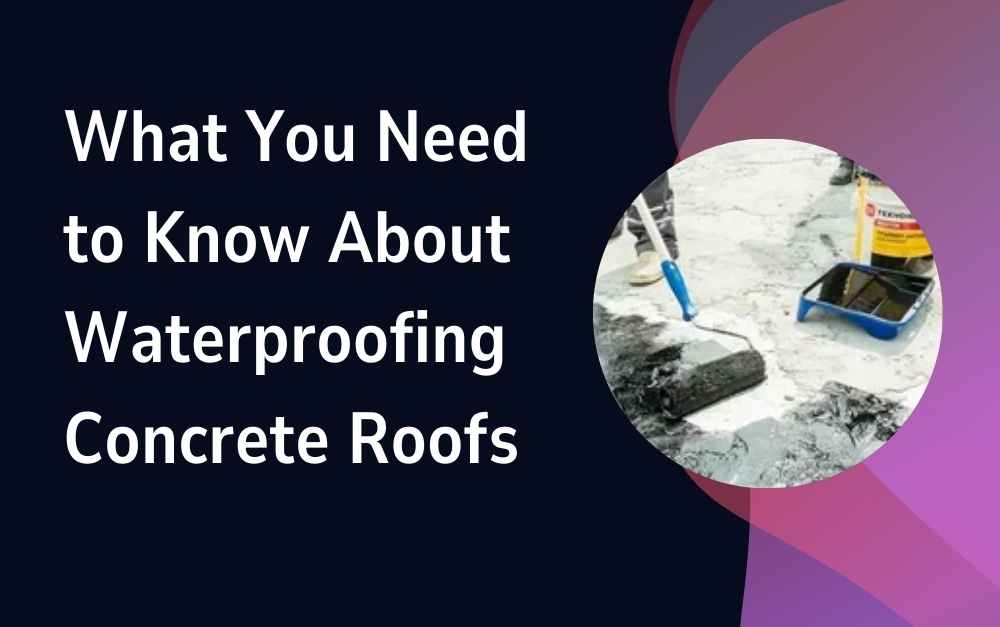
Once the roof is clean and any damage has been repaired, apply a waterproofing primer. This product helps the waterproofing membrane adhere better to the concrete surface. Use a roller or brush to apply the primer evenly across the entire roof. Allow the primer to dry completely, following the manufacturer’s instructions. The primer creates a strong bond between the concrete and the waterproofing membrane, ensuring a more durable and effective seal.
Step 4: Install a Waterproofing Membrane
After the primer has dried, it’s time to install the waterproofing membrane. There are various types of membranes available, including liquid-applied membranes, sheet membranes, and bituminous membranes. Choose the one that best suits your needs and follow the manufacturer’s instructions for installation. Generally, you will need to apply the membrane in overlapping layers to ensure complete coverage. Pay special attention to seams and edges, as these areas are more prone to leaks. Use a roller or brush to smooth out any air bubbles or wrinkles, ensuring a tight seal.
Step 5: Seal the Membrane with a Topcoat
Once the waterproofing membrane is in place, apply a topcoat to seal and protect it. The topcoat provides an additional layer of protection against UV rays, weathering, and physical damage. Use a roller or brush to apply the topcoat evenly, and make sure to cover the entire surface. Allow the topcoat to dry completely before walking on the roof or exposing it to the elements. This final step ensures that your roof is fully protected and will remain waterproof for years to come.
Tips for Maintaining a Waterproof Roof
Regular Inspections
Regular inspections are key to maintaining a waterproof roof. Check your roof at least twice a year, and after any major weather events, to ensure there are no signs of damage or leaks. Look for cracks, peeling, or other signs that the waterproofing may be failing. Address any issues promptly to prevent further damage and extend the life of your roof.
Keep the Roof Clean
Keeping your roof clean is essential for maintaining its waterproofing. Remove any debris, leaves, or dirt that can accumulate and cause water to pool on the surface. Regular cleaning prevents blockages in drainage systems and reduces the risk of water infiltration. Use a soft-bristle broom or a leaf blower to clean the roof, and avoid using harsh chemicals that could damage the waterproofing membrane.
Monitor Drainage Systems
Proper drainage is crucial for a waterproof roof. Ensure that gutters, downspouts, and drains are clear and functioning properly. Blocked drainage systems can cause water to back up and seep into the concrete, compromising the waterproofing. Regularly inspect and clean your drainage systems to ensure they are working efficiently. Consider installing gutter guards to prevent leaves and debris from clogging the system.
Address Repairs Promptly
If you notice any damage or leaks, address repairs promptly to prevent further issues. Small cracks or leaks can quickly become larger problems if not dealt with immediately. Use appropriate repair products and follow the manufacturer’s instructions to ensure a proper fix. If the damage is extensive, consider consulting a professional to ensure the repairs are done correctly and effectively.
Reapply Waterproofing as Needed
Waterproofing materials can degrade over time, so it’s important to reapply them as needed. Follow the manufacturer’s recommendations for reapplication intervals, and inspect your roof regularly to determine when it’s time for a new coat. Reapplying waterproofing ensures that your roof remains protected and prevents water damage from occurring. This proactive approach can save you money in the long run by avoiding costly repairs.
Conclusion
Waterproofing your concrete roof is an essential step in protecting your home from water damage and ensuring the longevity of your roof. By following the steps outlined in this guide, you can effectively waterproof your roof and maintain its integrity for years to come. Regular inspections, cleaning, and maintenance are key to keeping your roof in good condition. Address any issues promptly and reapply waterproofing as needed to ensure your roof remains a strong and reliable barrier against the elements. With proper care and attention, your waterproofed concrete roof will provide lasting protection and peace of mind.
For more insightful articles related to this topic, feel free to visit scoopearth

