
Installing a cooling system correctly is essential to preserving the functionality and durability of your equipment. Following the right processes while installing a cooling system in your home, business, or industrial space is crucial. In this in-depth guide, tailored for Cooling System Installations in Clifton, NJ, we’ll walk you through every step required for a successful cooling system installation, guaranteeing peak performance and dependability.
Evaluation and Scheduling
Determining your cooling requirements and making appropriate plans before beginning the installation process is essential. Please consider variables, including the area that has to be cooled, the amount of heat produced by the equipment or people using it, and any unique needs or limitations.
To start, figure out how much cooling power is needed to cool the area sufficiently. This entails calculating the heat gain or loss according to equipment, windows, insulation, occupancy, and other factors. Speaking with a licensed HVAC engineer can help guarantee precise computations.
Next, determine how much room is needed to install the cooling system. Consider ventilation needs, maintenance accessibility, and distance from heat sources or obstacles. The cooling equipment must be appropriately positioned for optimum airflow and effective performance.
Choosing Appropriate Equipment
It’s time to choose the right cooling equipment after determining your cooling requirements and space needs. Various cooling systems are available, such as heat pumps, evaporative coolers, chillers, and air conditioners. In selecting the ideal system for your application, consider maintenance simplicity, noise level, capacity, and energy efficiency.
Ensure your chosen equipment is compatible with your current setup’s plumbing, electrical, and ducting connections. To ensure compatibility and appropriate sizing, seek advice from a trained HVAC technician or engineer if needed.
Setting Up the Installation Location
To guarantee a seamless and trouble-free installation, prepare the installation location before installing the cooling system. Remove any clutter, debris, or obstructions that might get in the way of the installation process. Make sure there is enough ventilation and access for setup and ongoing upkeep.
To avoid water buildup and damage, ensure an outdoor unit’s position has adequate ventilation and drainage. When choosing the installation location, consider shade, sunlight exposure, and closeness to surrounding structures.
Procedure for Installation
Depending on the kind of cooling system being installed, there may be differences in the installation procedure. But there are a few standard procedures that work for the majority of installations:
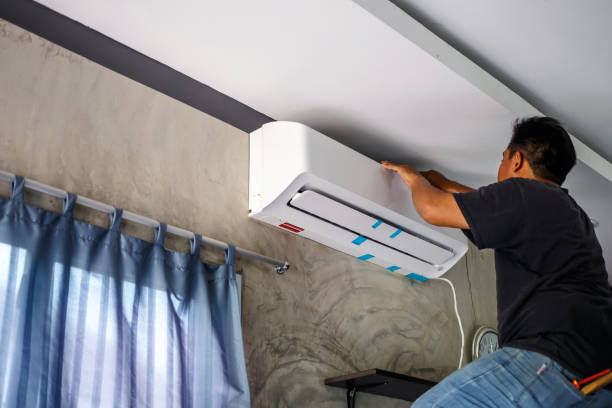
a. Equipment Mounting:
As the manufacturer directs, firmly install the indoor and outdoor equipment. Ensure the units are level and firmly connected to reduce vibration and noise.
a. Attaching Refrigerant Lines:
To avoid leaks, carefully attach the refrigerant lines between the indoor and outdoor units, ensuring they are the right size, insulated, and sealed.
c. Electrical Connections:
Assemble the electrical wiring in compliance with regional electrical codes and manufacturer’s instructions. Ensure every connection is securely grounded and shielded from environmental elements and physical harm.
d. Installation of Ductwork:
To reduce energy loss and guarantee appropriate airflow distribution, ensure the ductwork is appropriately sized, sealed, and insulated when building a ducted system.
e. Testing and Commissioning:
After the installation, ensure the system functions correctly by giving it a comprehensive test. Please make sure there are no leaks, airflow obstructions, or electrical problems, and take quick action to fix them.
Starting up and Commissioning
The cooling system must be correctly commissioned after installation to guarantee optimum performance and efficiency. Testing and modifying the system to satisfy the design requirements and performance standards are part of commissioning.
A: System calibration:
Based on the space’s unique needs, modify the controls and settings to maximize the system’s effectiveness and performance.
b. Balancing Airflow:
Use dampers or movable vents to balance the airflow and ensure the room is adequately ventilated.
c. Testing and Verification:
Make sure the system satisfies the required performance standards, such as humidity, airflow rates, and temperature management, by thoroughly testing it.
d. User Training:
Train users or facility managers on how to run the cooling system effectively and efficiently, covering troubleshooting and routine maintenance.
Upkeep and Repair
Maintaining the functionality and dependability of your cooling system requires routine maintenance. Create a thorough maintenance schedule that includes lubricating moving parts, cleaning coils, changing filters, and doing frequent inspections.
Plan for routine maintenance by trained specialists to spot such problems early on and take care of them before they become more severe and require expensive repairs or system failures. To monitor the system’s functioning over time, keep thorough records of all maintenance procedures and any repairs or replacements carried out.
In summary
Proper installation requires proper installation to maintain a cooling system’s best performance, dependability, and energy economy. You can guarantee a successful installation that satisfies your cooling demands and offers years of trouble-free operation by following the instructions provided in this book and working with skilled professionals. Throughout the installation procedure, keep safety in mind, obey local laws and ordinances, and follow the manufacturer’s instructions first. Your air conditioning system may provide comfort and convenience for many years with proper planning, installation, and upkeep.

